Last week I explained why I’m building a smart biltong drying box from an IKEA EKET cabinet. This week: the part where I commit to the build by drilling into it.
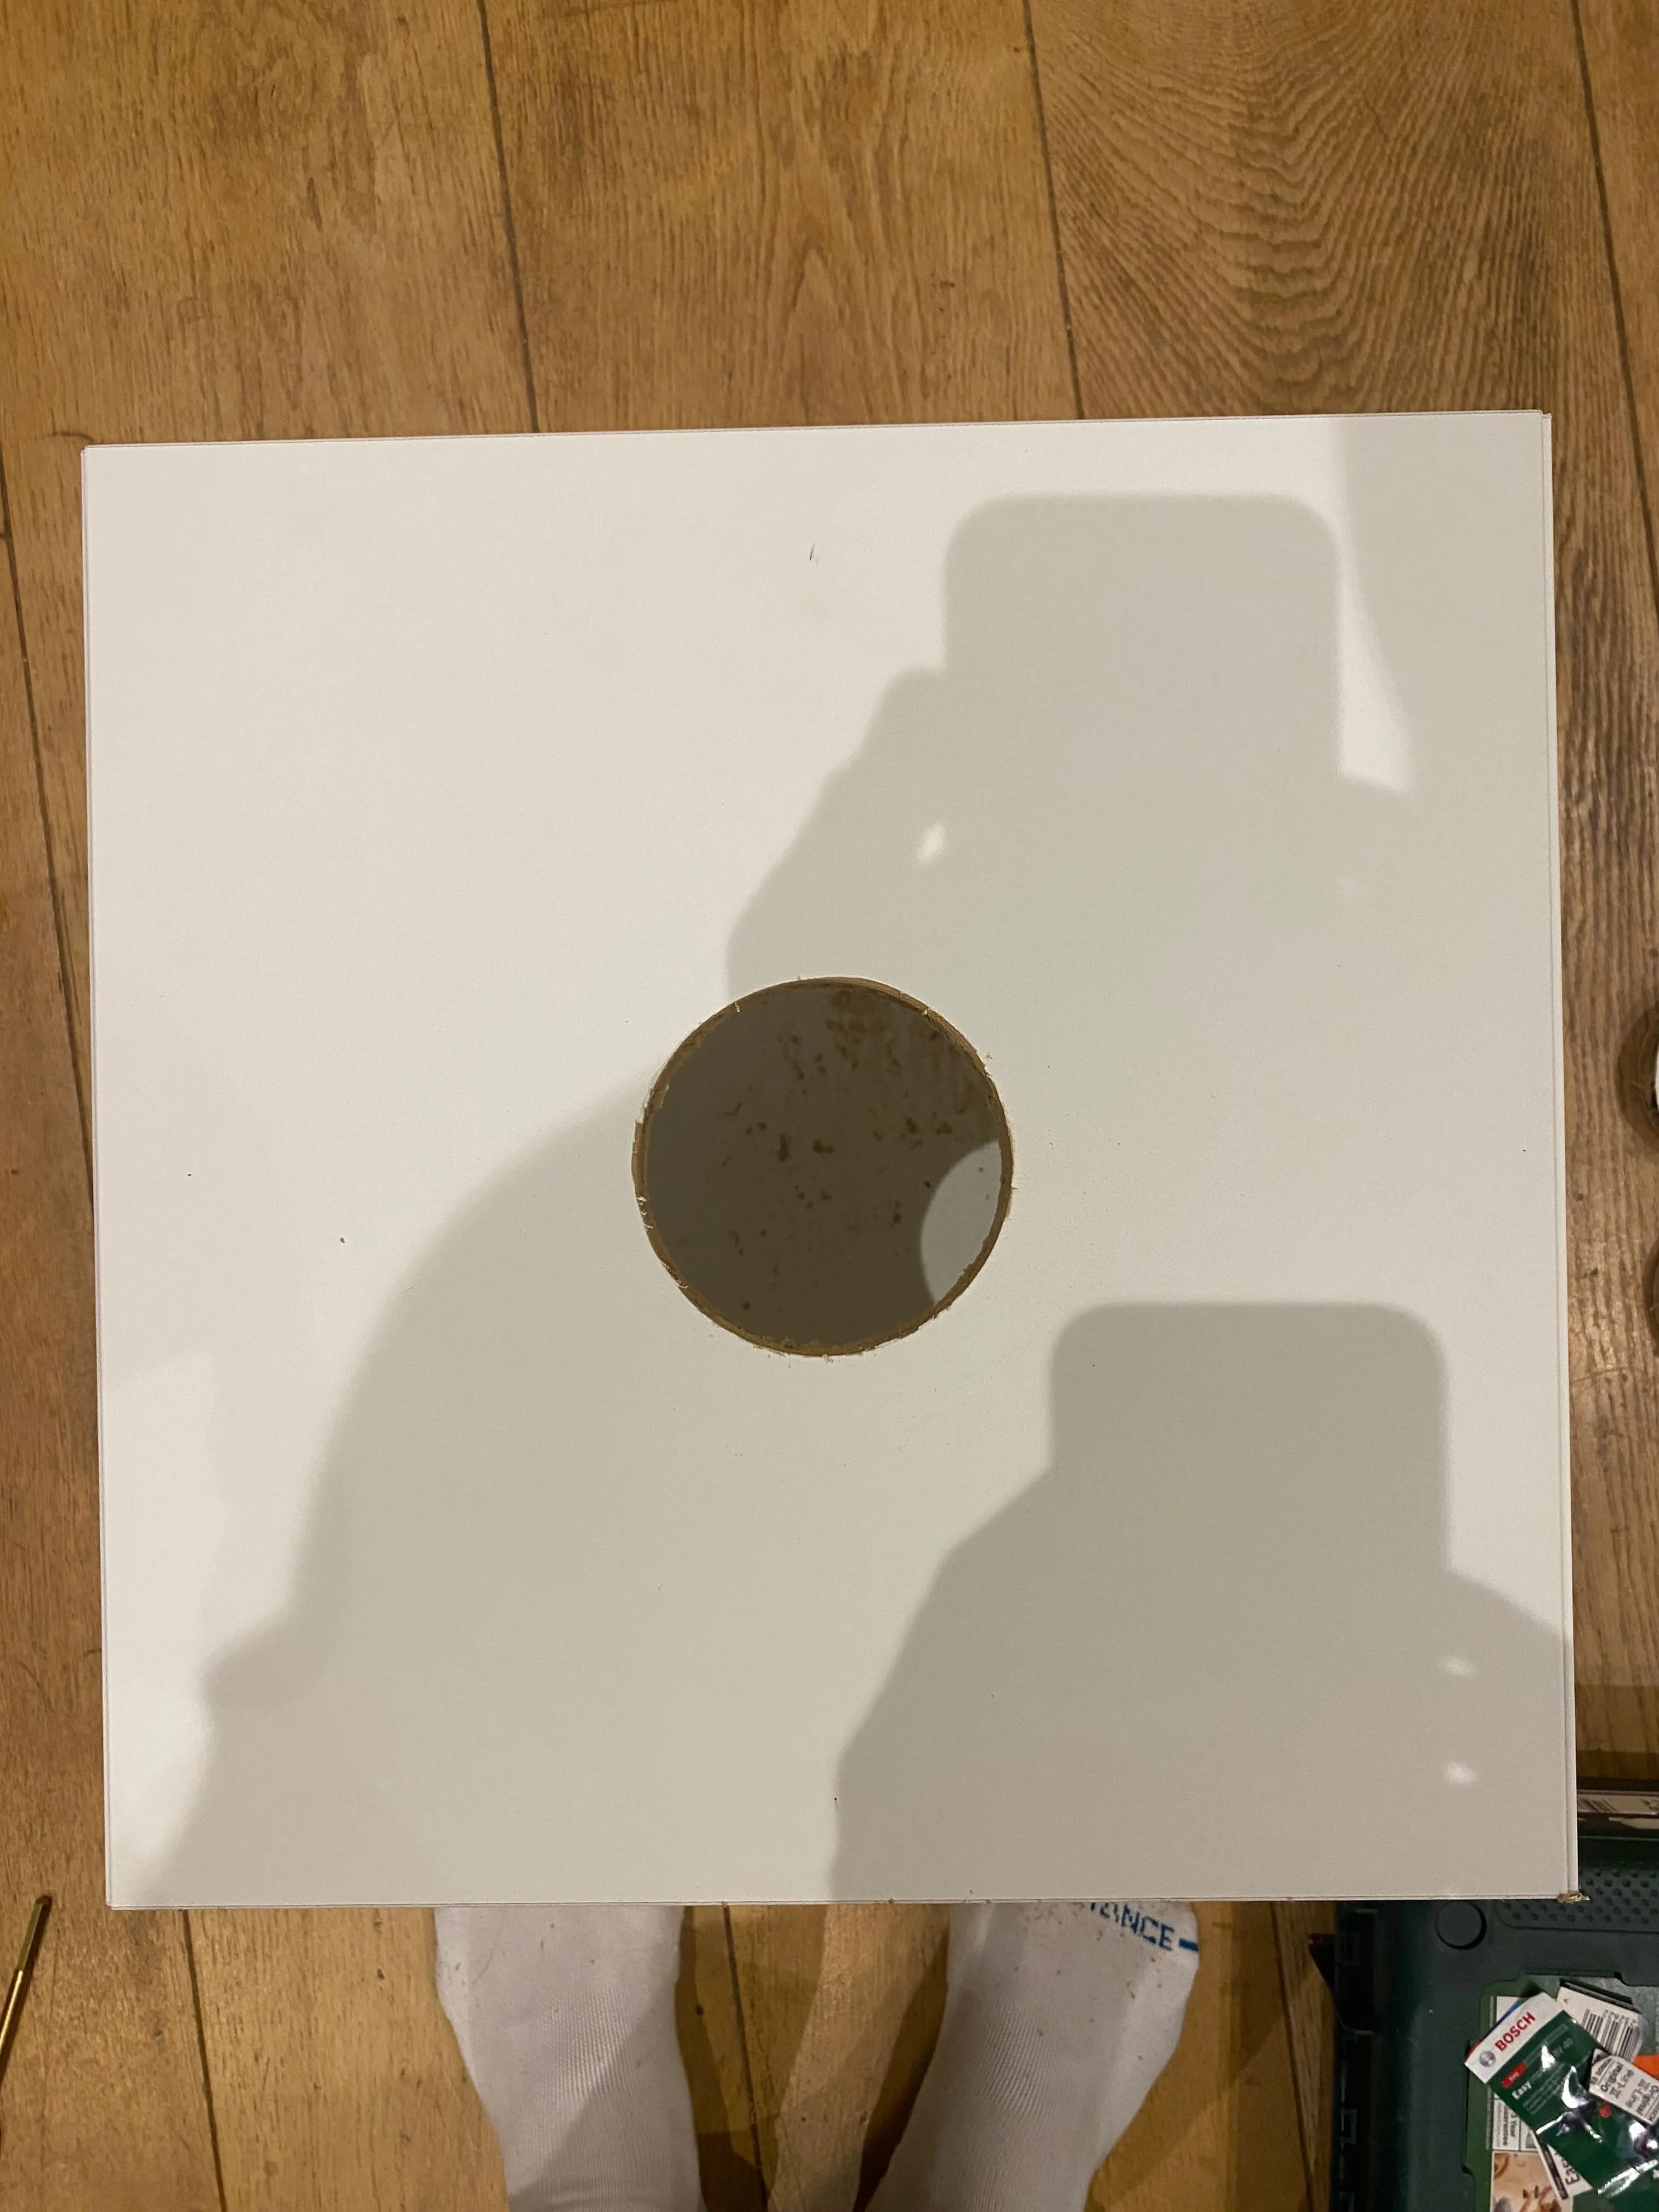
Marking the fan aperture
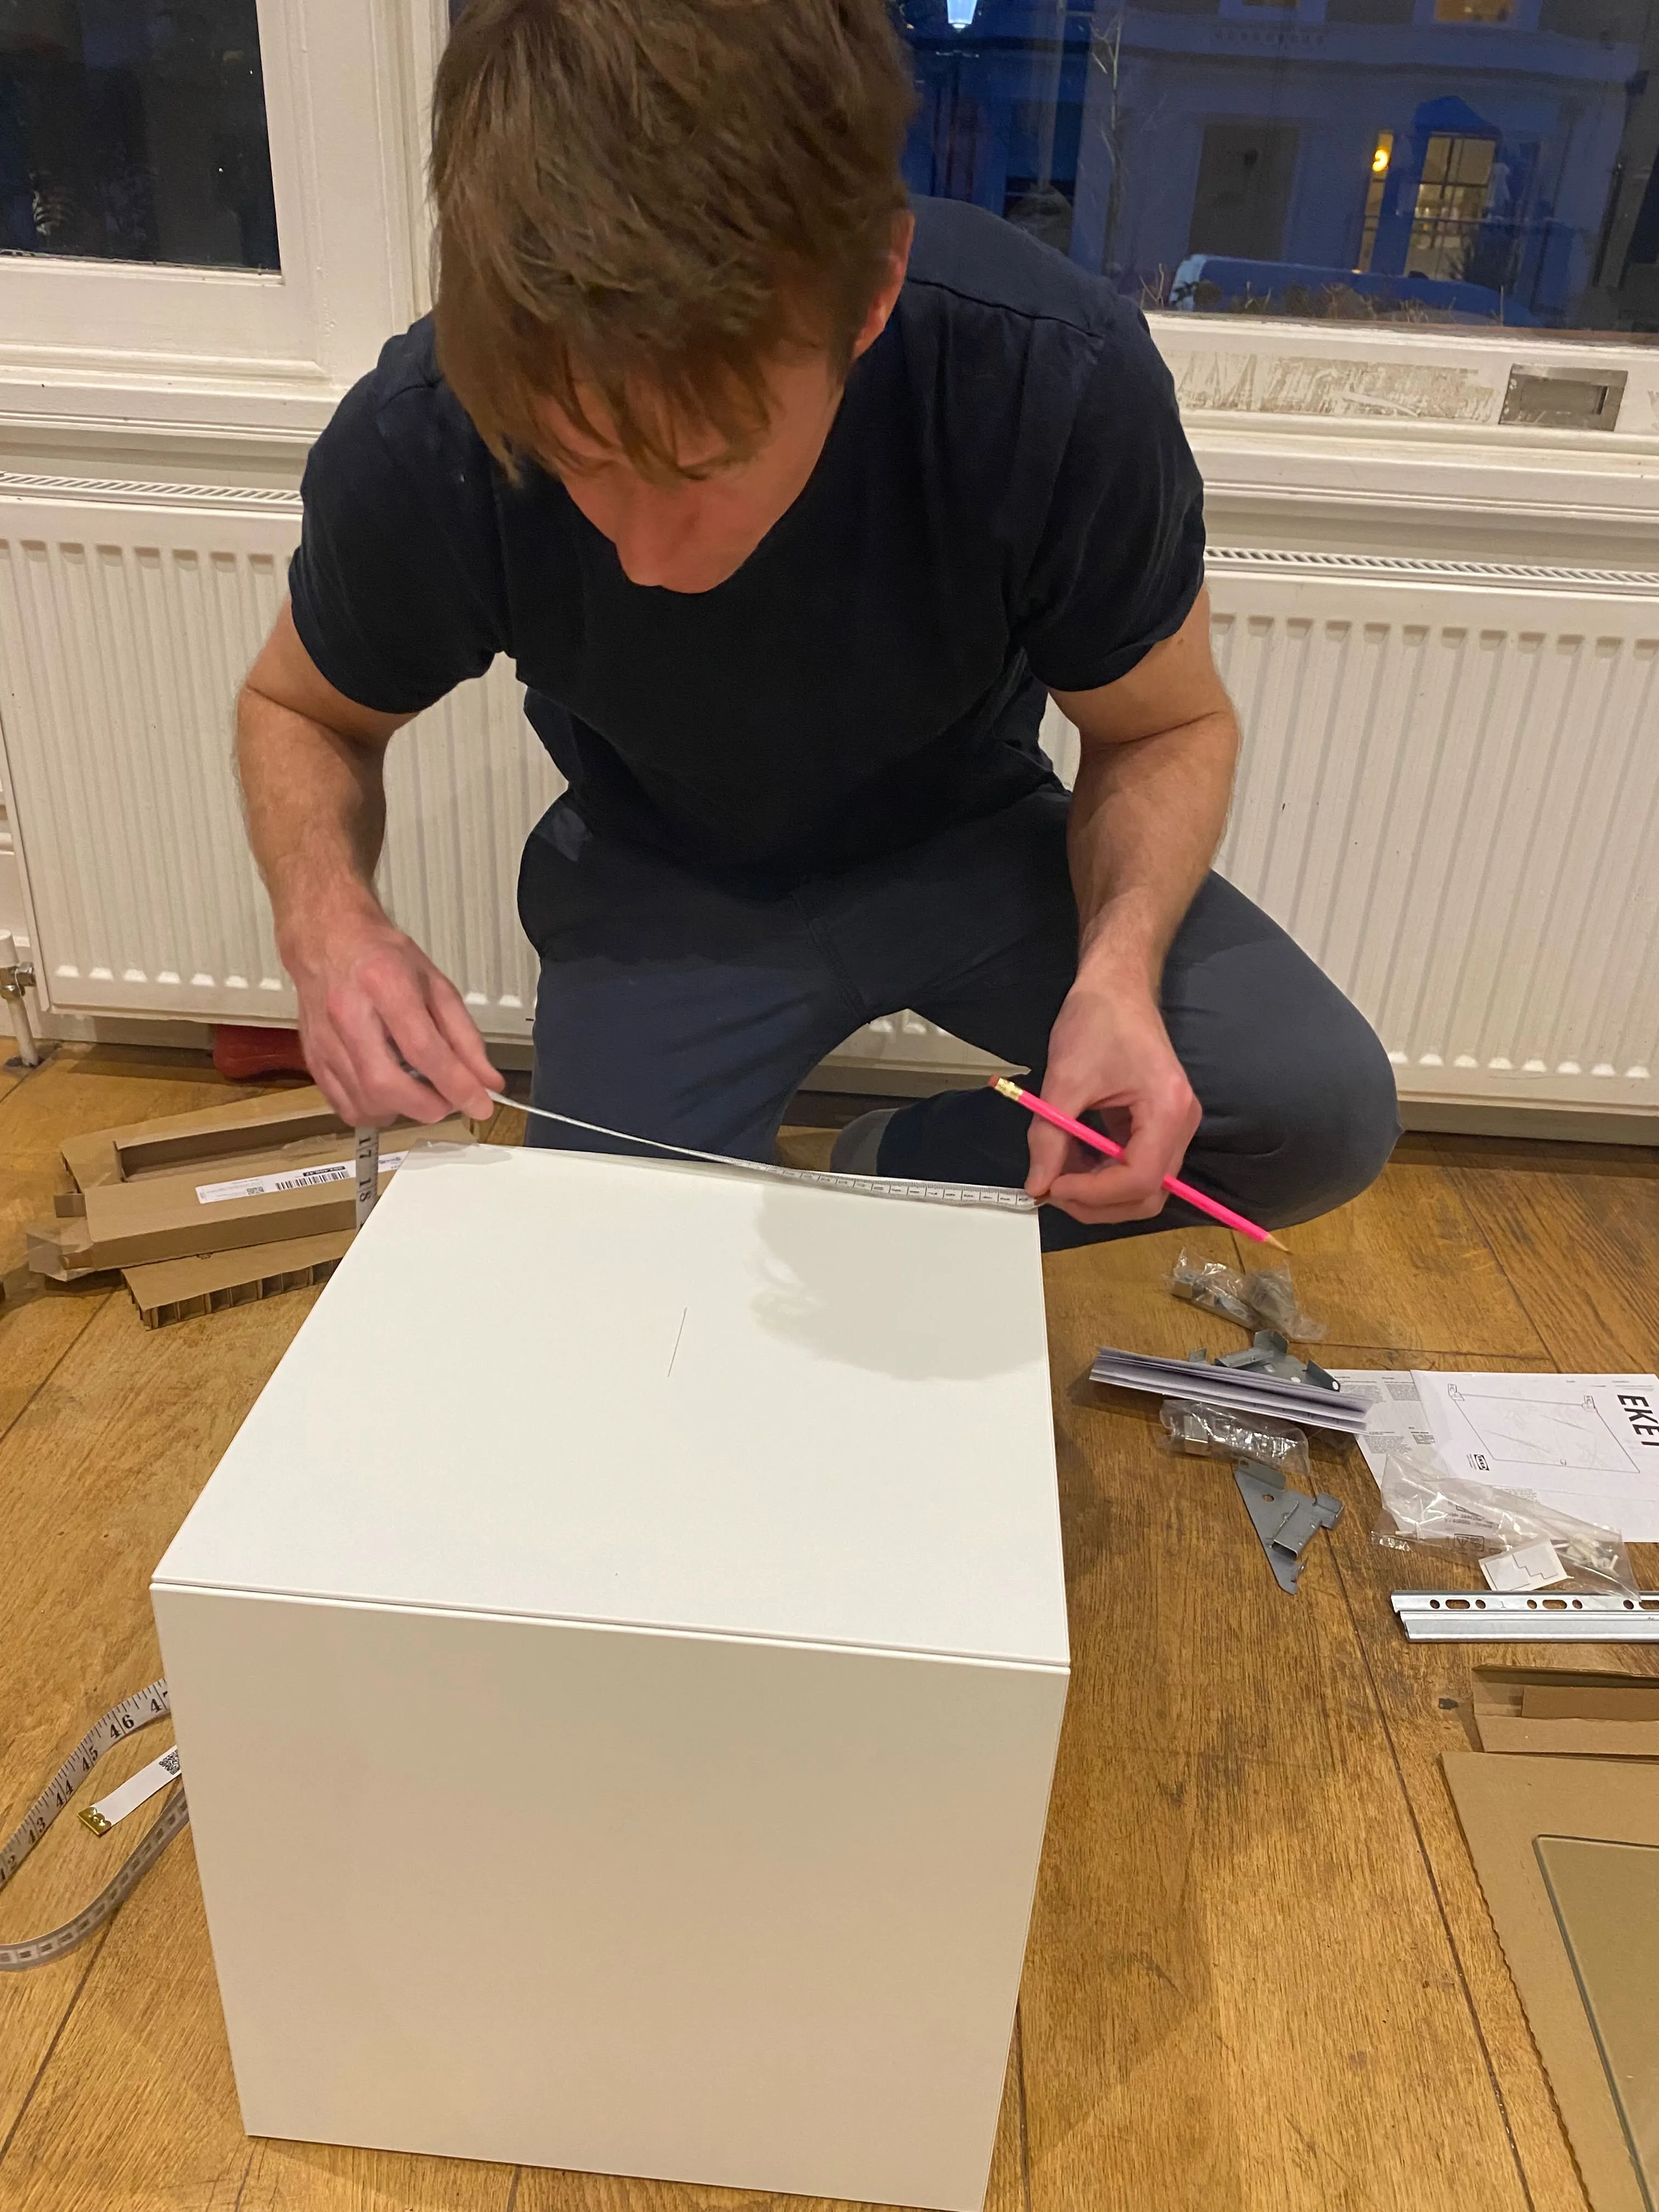
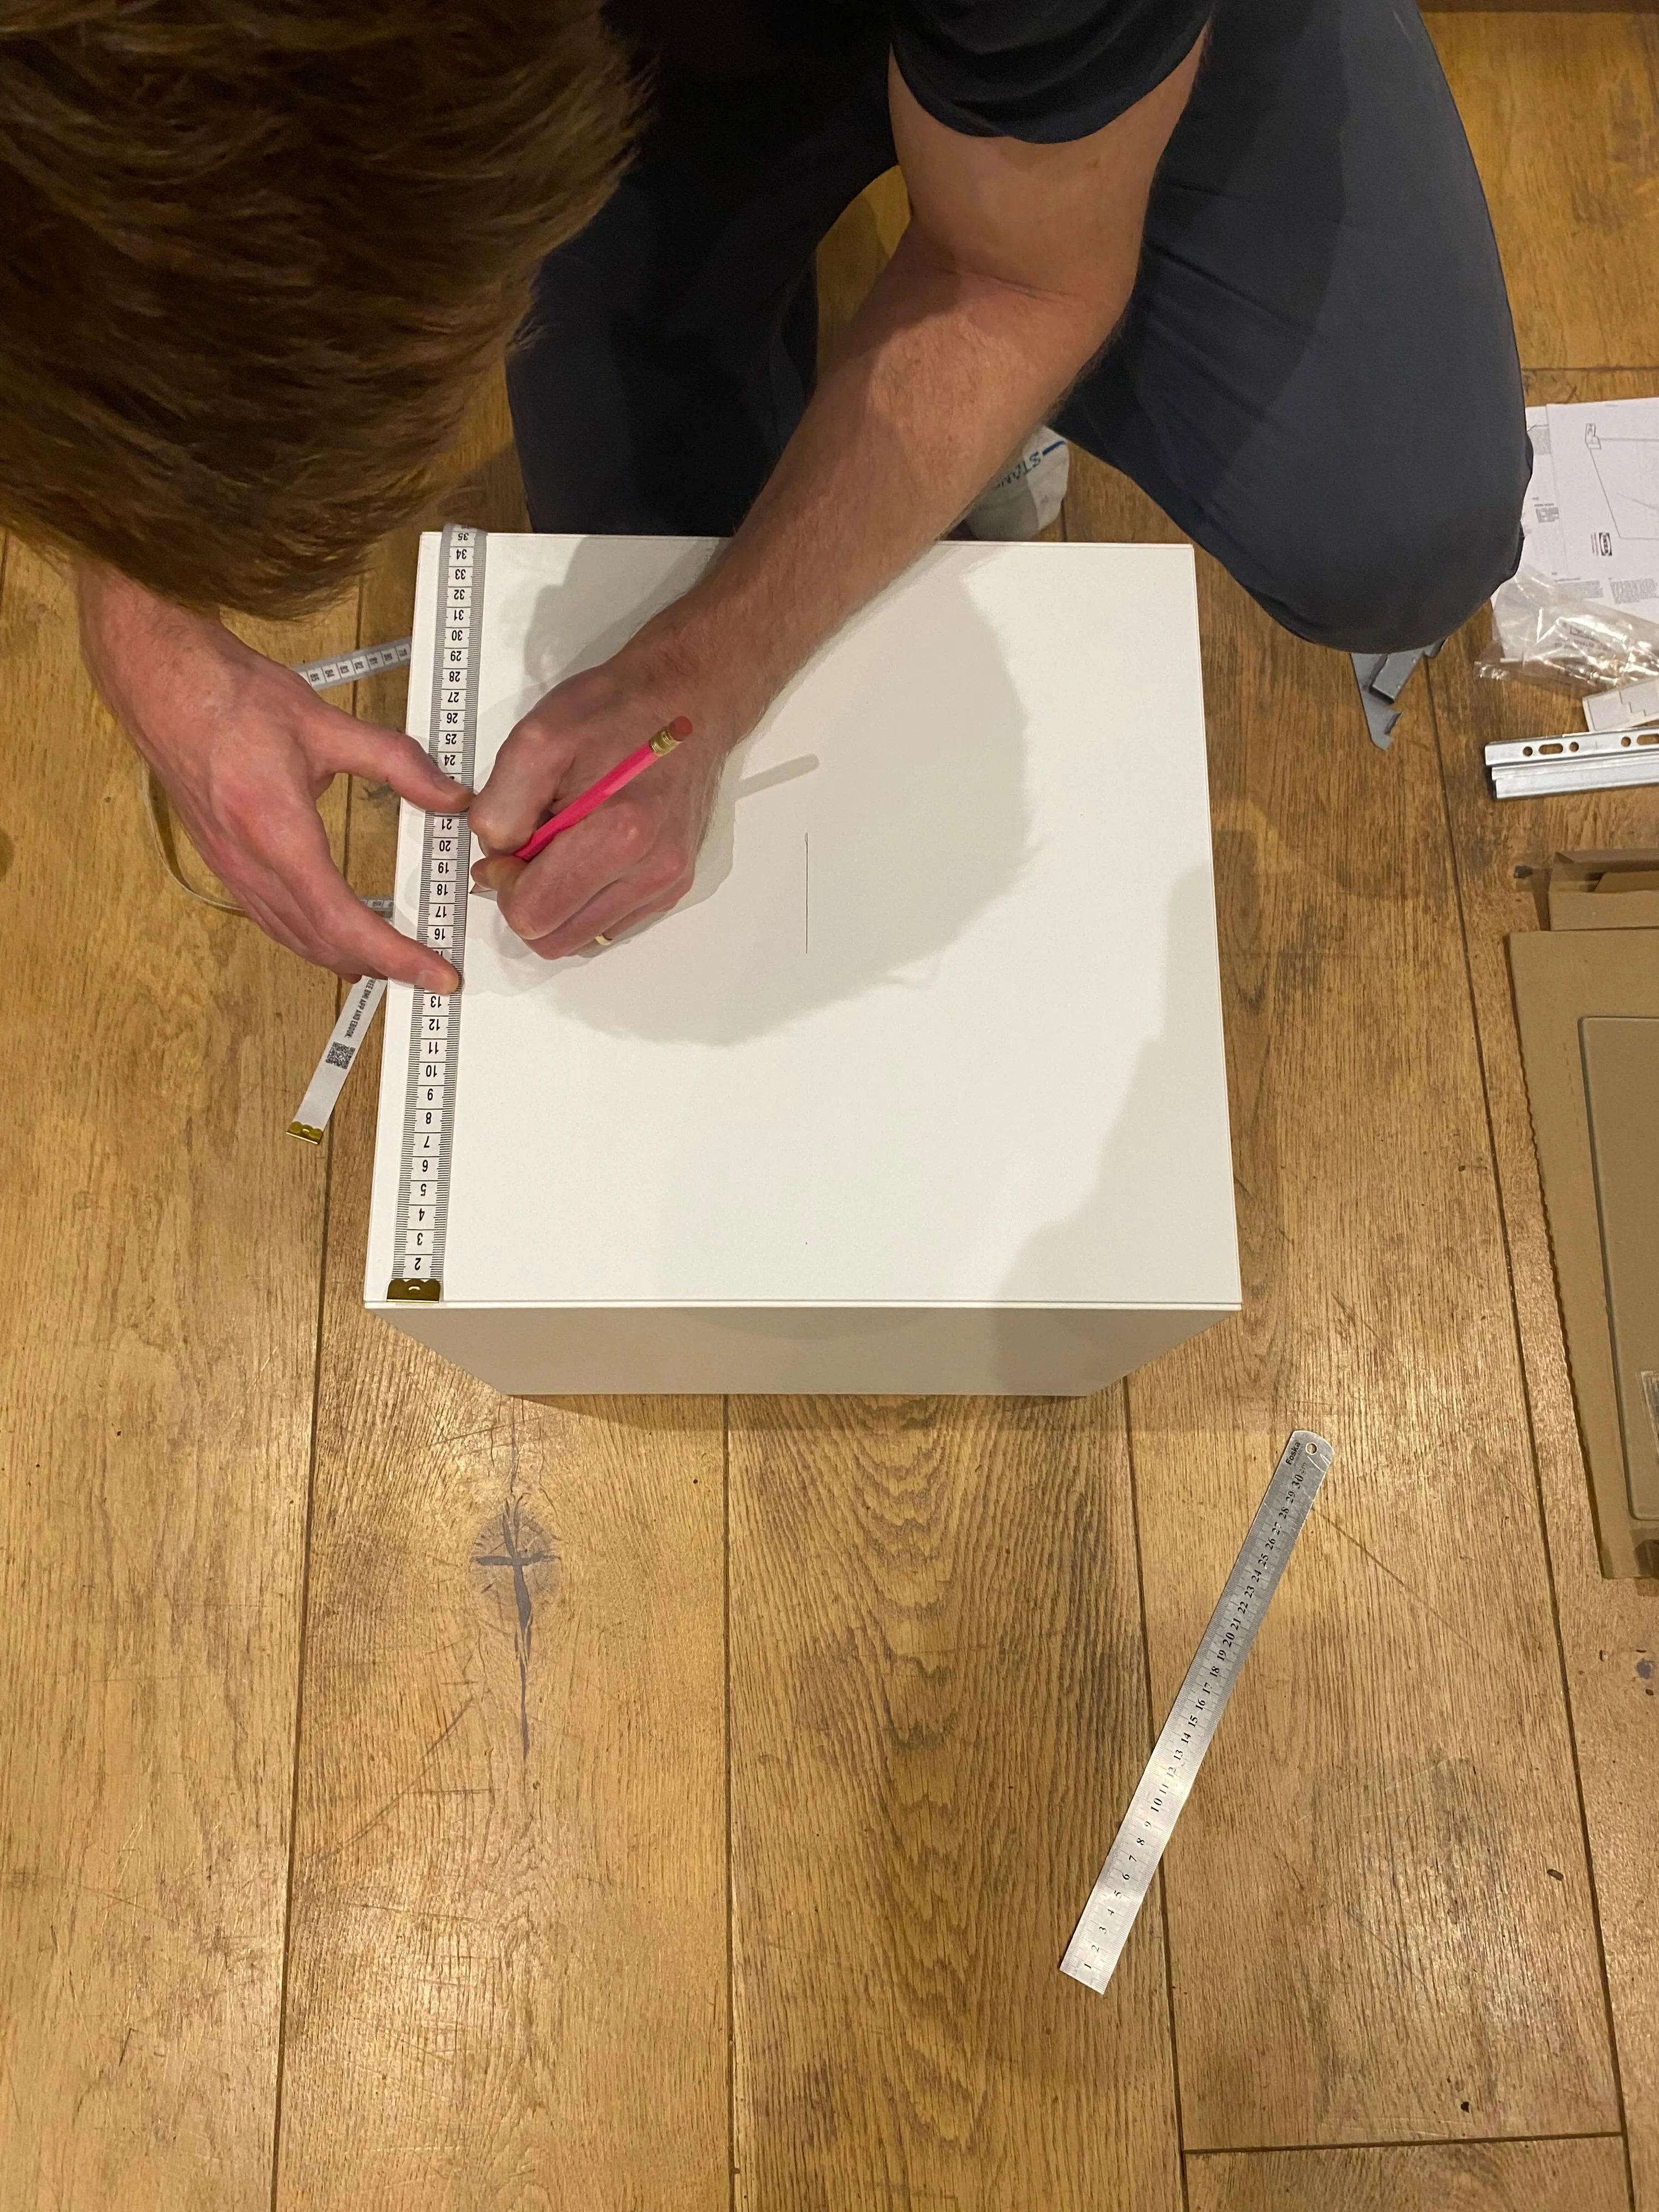
The Arctic P8 fan sits on the top panel as an exhaust — pulling warm, humid air up and out of the box. To mark the centre, I measured 17.5cm in from each side of the 35×35cm panel and drew a cross with a pencil and steel rule. That cross becomes the drill point for a hole saw.
One thing worth noting: the EKET panels are particleboard with a melamine face. They cut cleanly with a sharp hole saw but will chip if you’re aggressive. Score the cut line lightly first if you want a clean edge on the visible face.
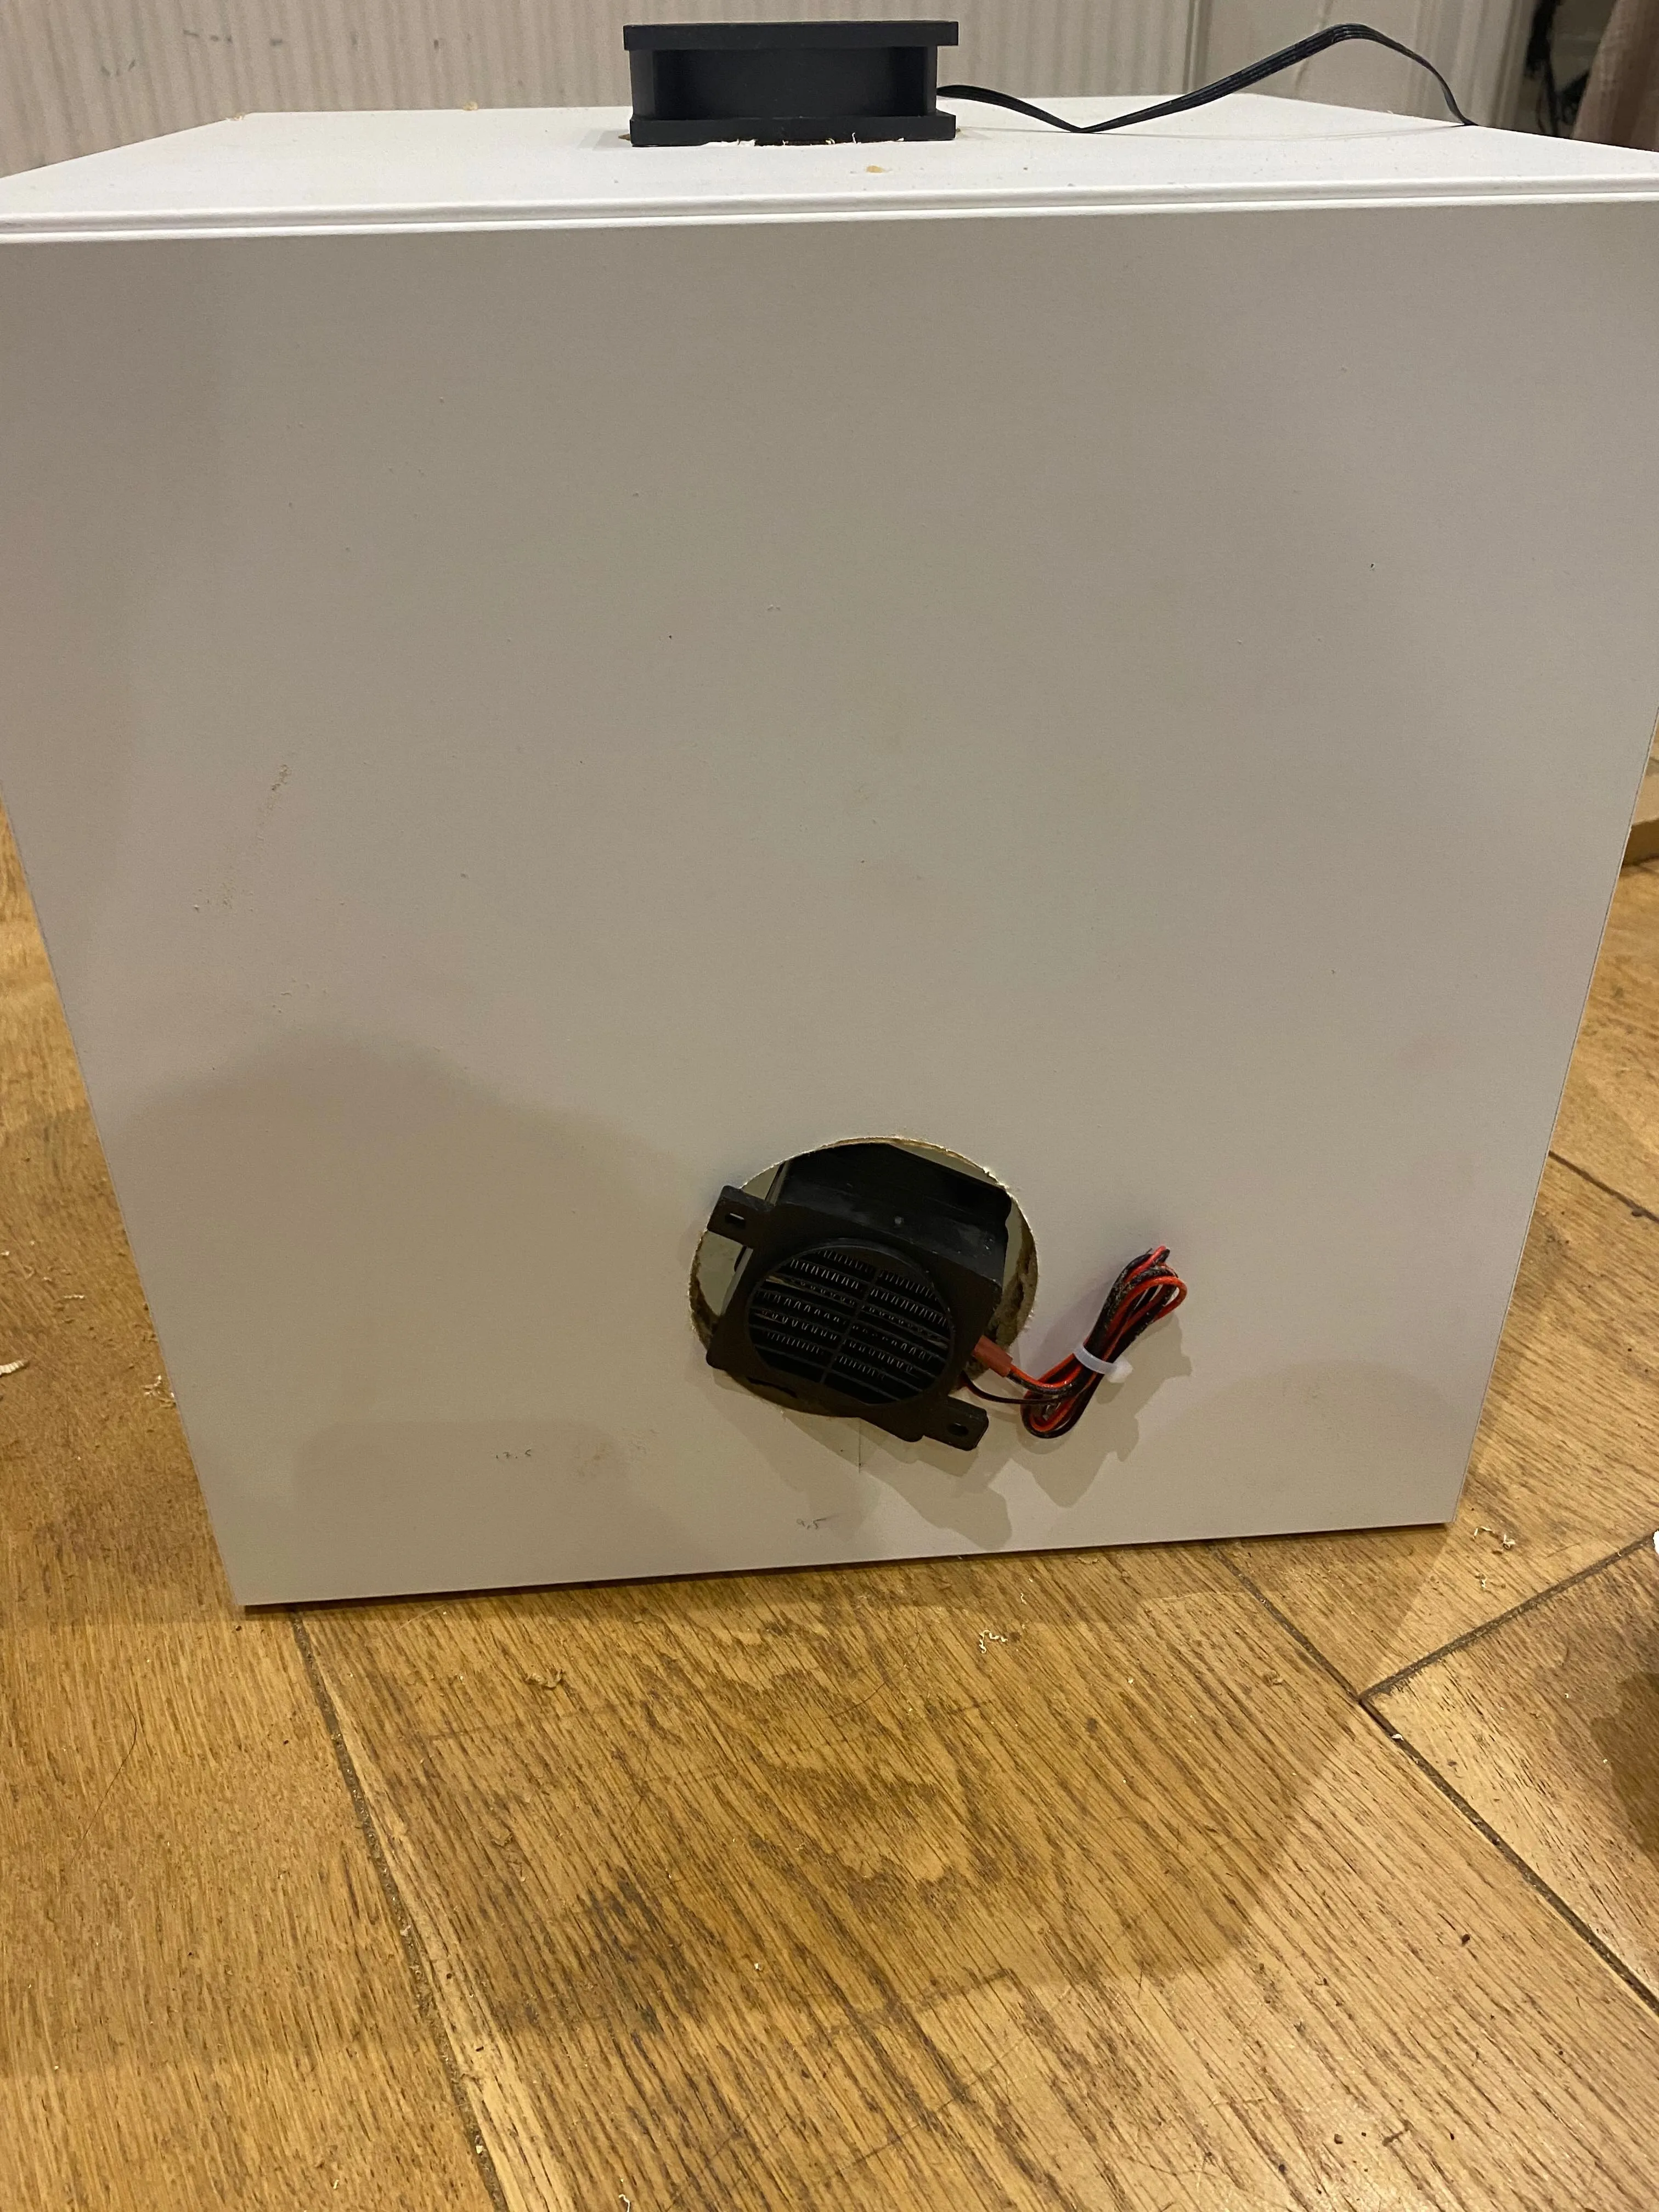
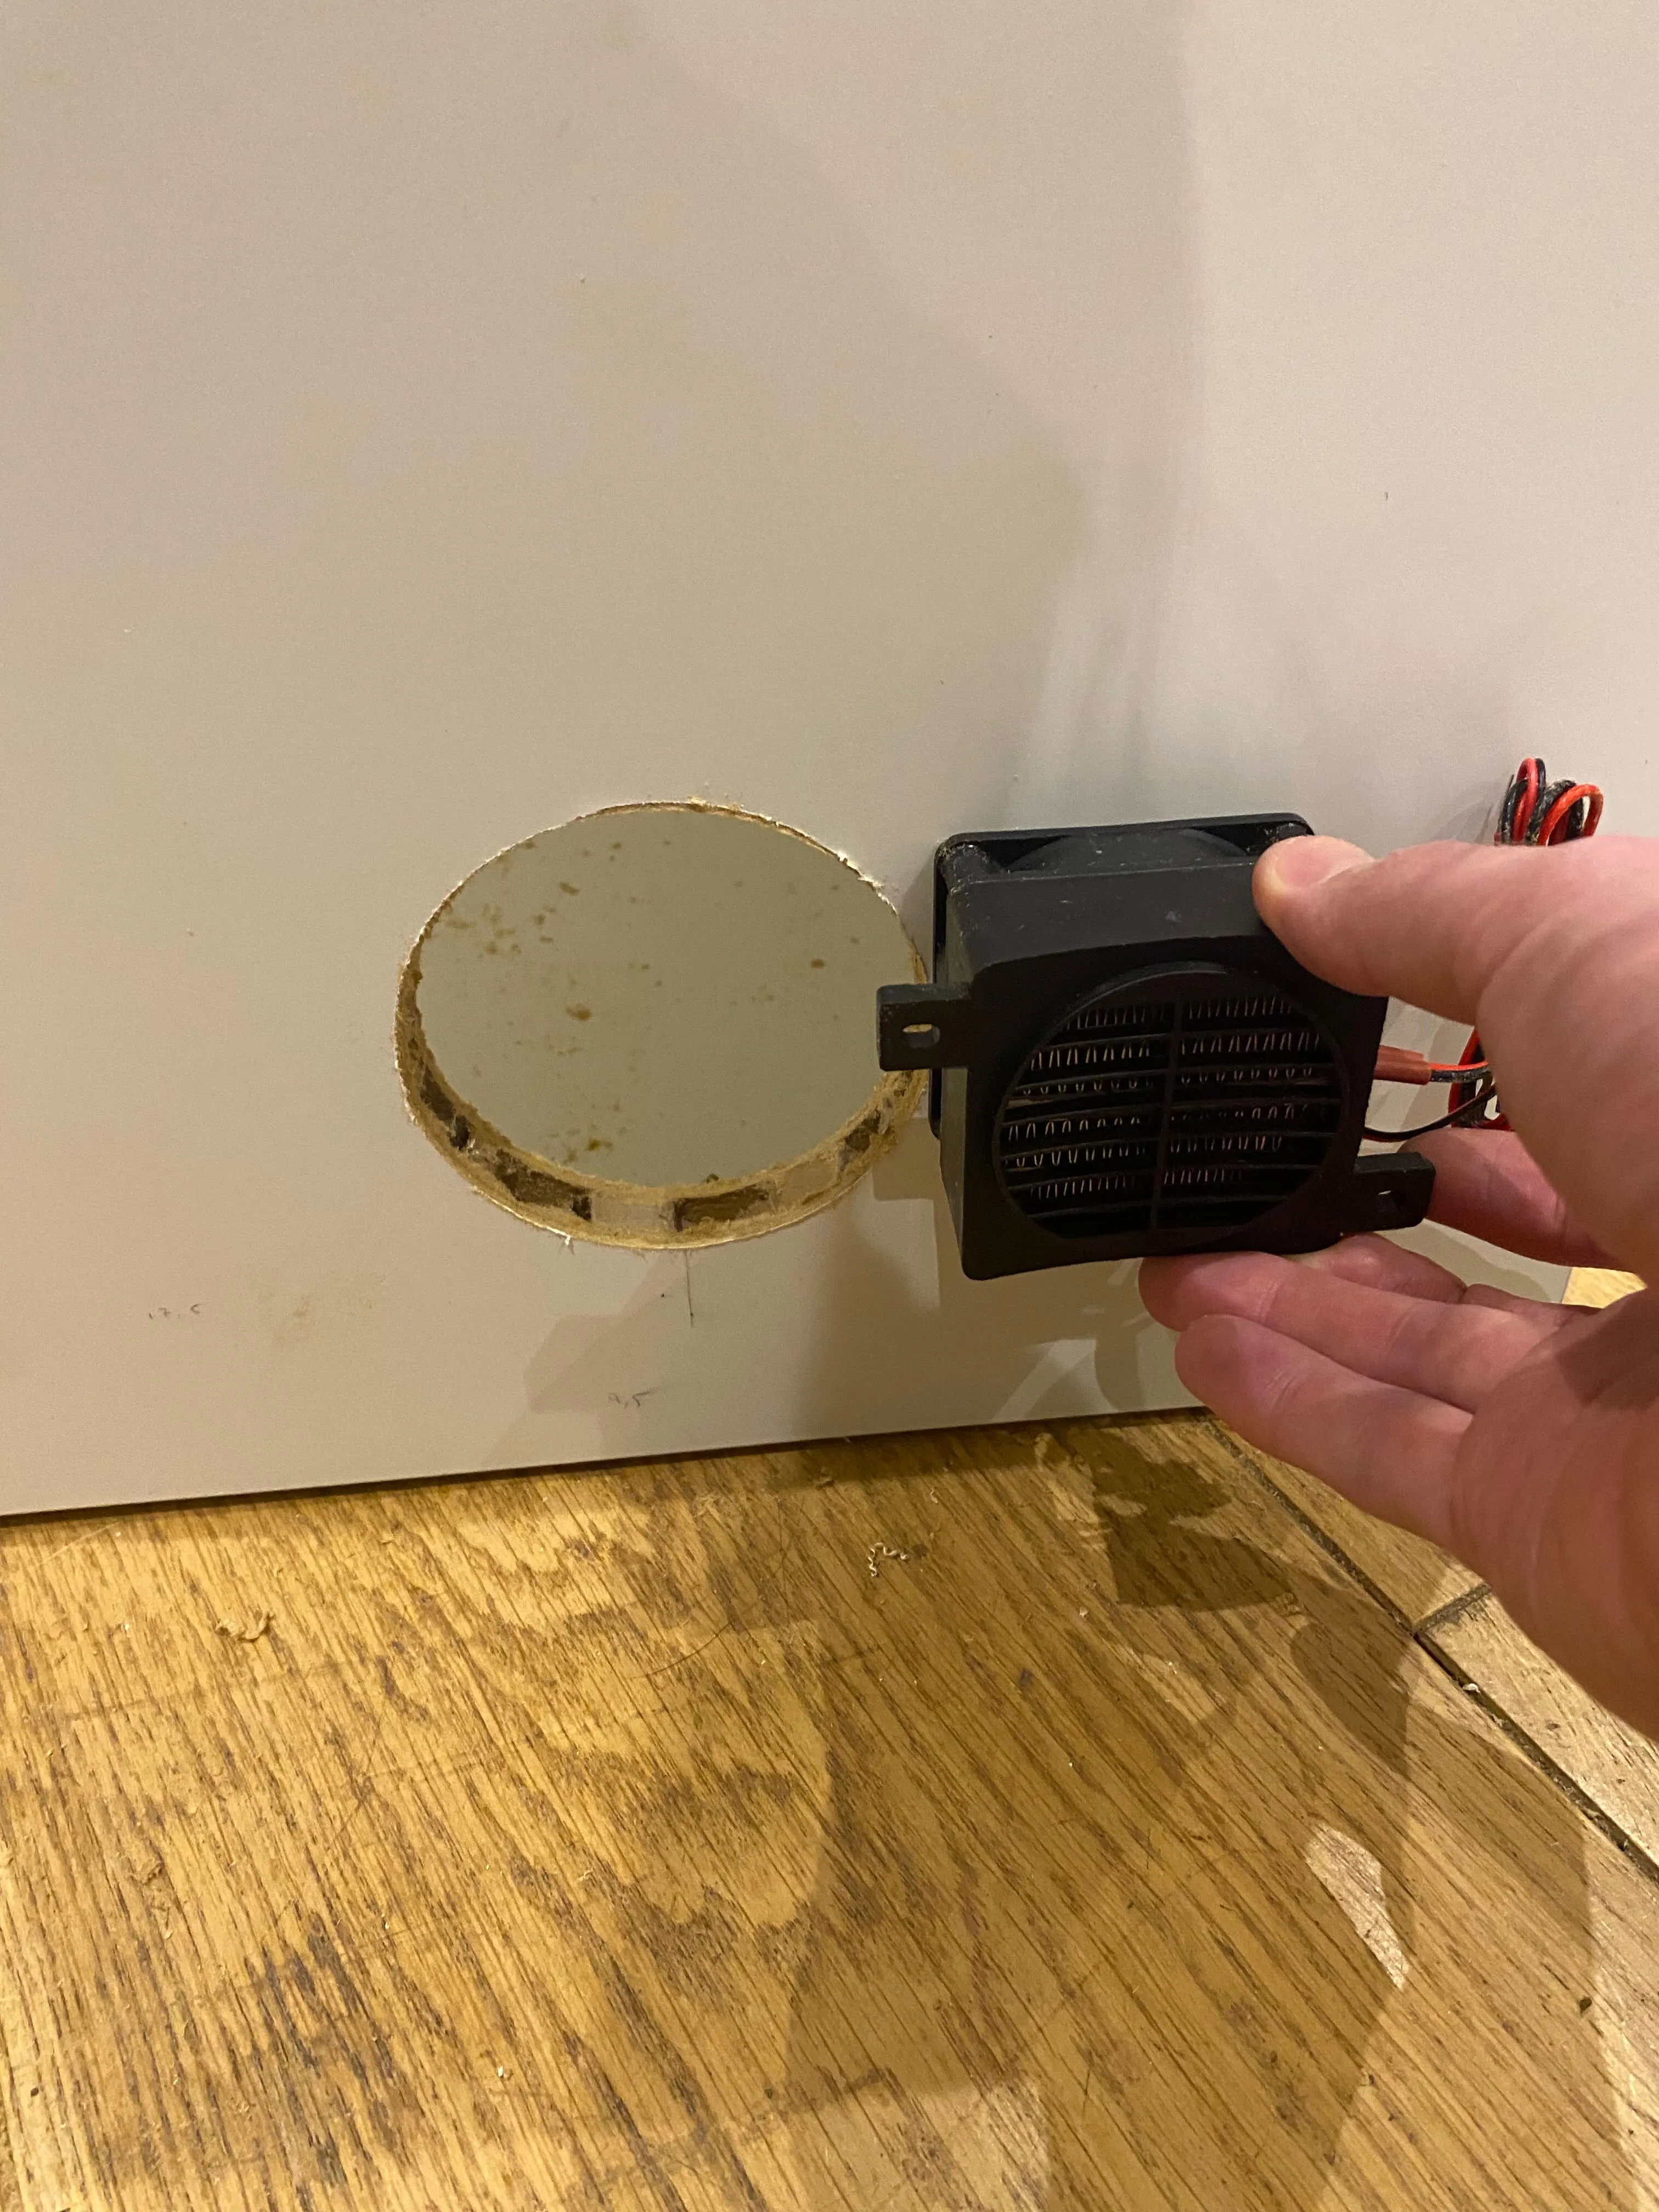
The heater cutout
The PTC heater sits in the lower half of one side wall. The circular cutout needs to be sized to the heater body — in my case, roughly 70mm diameter. Same process: measure to find centre, mark with pencil, cut with hole saw.
Height matters here. Too low and there’s a drip contamination risk from vinegar and spice during a batch. Too high and you lose the convection effect you’re trying to create. I positioned the centre of the heater aperture at mid-height in the lower half of the wall — around 120mm from the bottom of the interior.
The moment of commitment
There’s something clarifying about drilling a hole in a piece of furniture. Before the drill, you have options. After it, you have a project.
Both cuts came out clean. The fan seated flush on the top panel; the heater body fits the side wall aperture without gaps. Next step: wire everything up.